Falloff / Curve Control
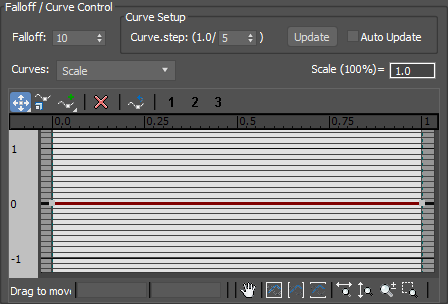
The curve editor is an important control element. The curves in it work as a multiplier. The curves work as a multiplier. The values from the section Transform are multiplied by the values of the curves. For example, the rotation parameters are multiplied by the green curve, and the position parameters are multiplied by the blue one.
All curves by default are zero, and if you changed the rotation or position in the Transform section, do not forget to change the green or blue curve respectively. Otherwise they will be multiplied by zero, and there will be no result.
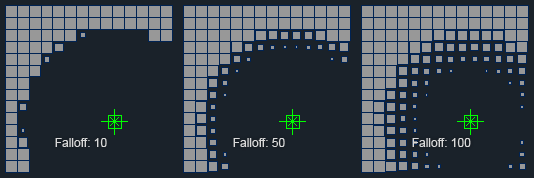
Falloff
Allows you to adjust the smoothness of the transition.
Curves
Selects a curve and makes it active.
Curve.step
Adjusts the quality of the curve.
The higher the value, the more accurate the animation will depend on the curve.
Below are shown how the animation keys will look depending on the steps:
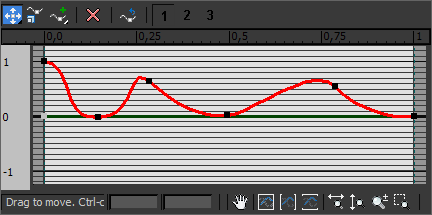
The curve in the PolyFX window
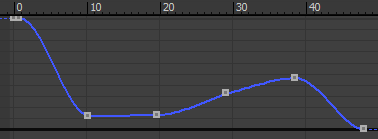
Curve.step: 5
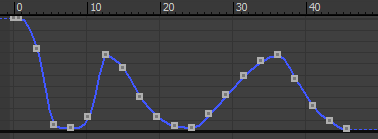
Curve.step: 20
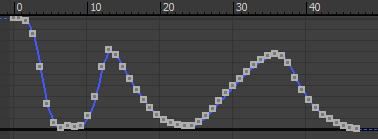
Curve.step: 50
Update
Manually update the transformation of fragments in the viewport.
Auto Update
Automatic update of the transformation of fragments in the viewport.
Scale (100%)
This field shows at what value of the red (scale) curve the fragments will have a scale equal to 100%.
The value in this field depends directly on the value of Scale in the Transform section. For example, if the Scale in the Transform group is 200, then 0.5 is written in this field.